Host a static website on Boomla
You can host a static website on Boomla, though you may need to make a few tiny changes to its codebase.
The above video was made in 2020 while the text below in 2018. They upload two different static sites but the way it works is the same. The text based version below discusses some edge cases the video doesn't cover.
--
In this tutorial, we are going to upload a random Bootstrap template, I picked this one. Should the link ever break, you can also download the source files directly:
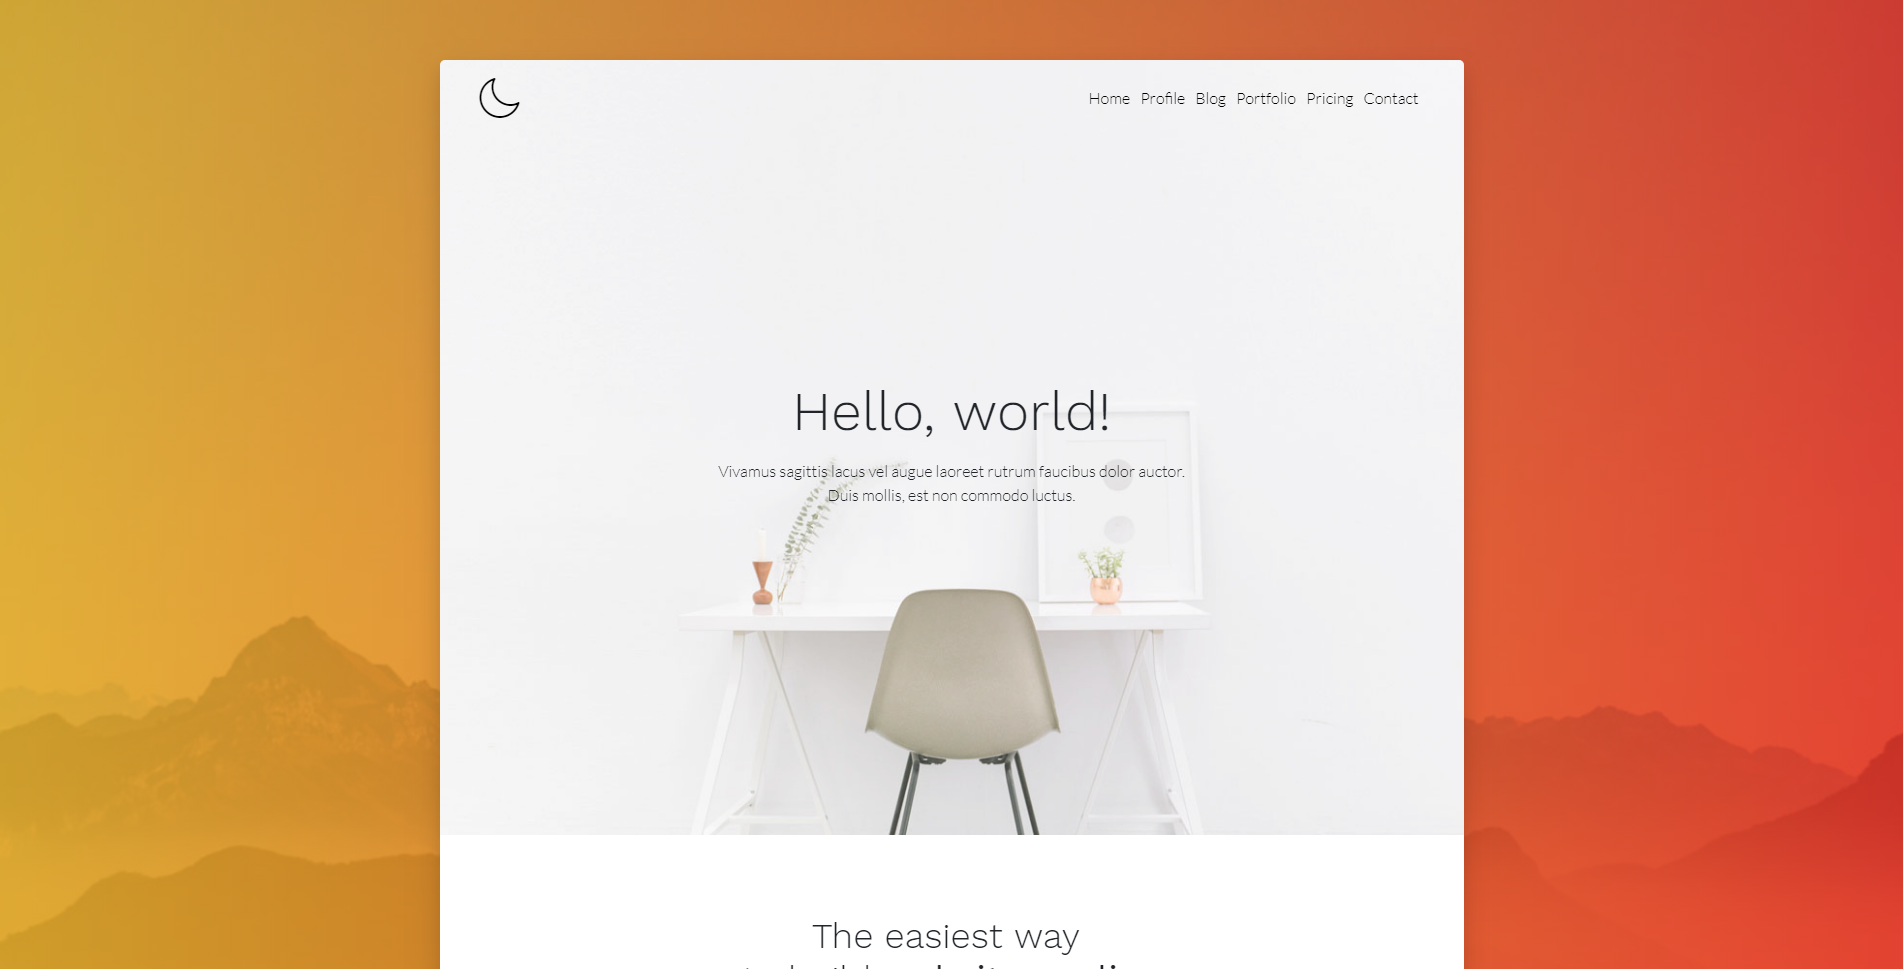
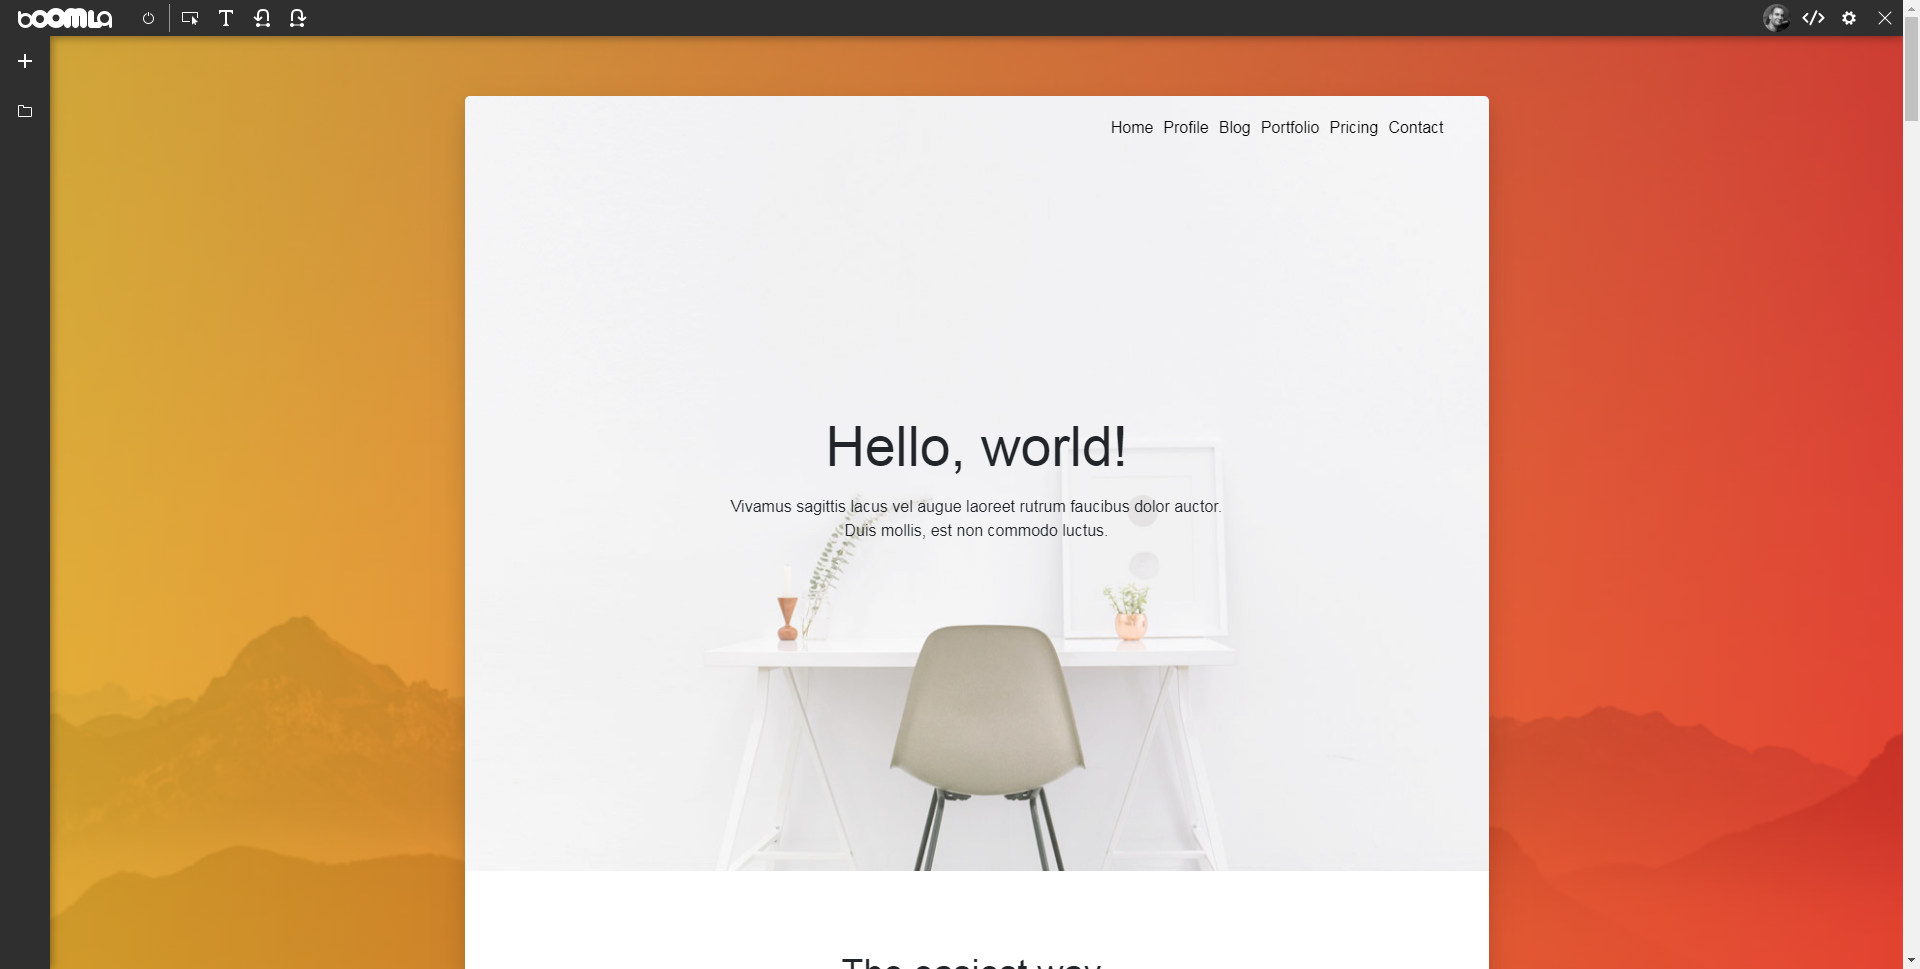
Here is a screenshot of the template:
And you can see the final result at moon.boomla.net.
Create an empty website
Create a website with an empty filesystem.
Go to: boomla.com -> Control Panel -> Websites -> Create new website -> create with empty filesystem -> then choose a domain.
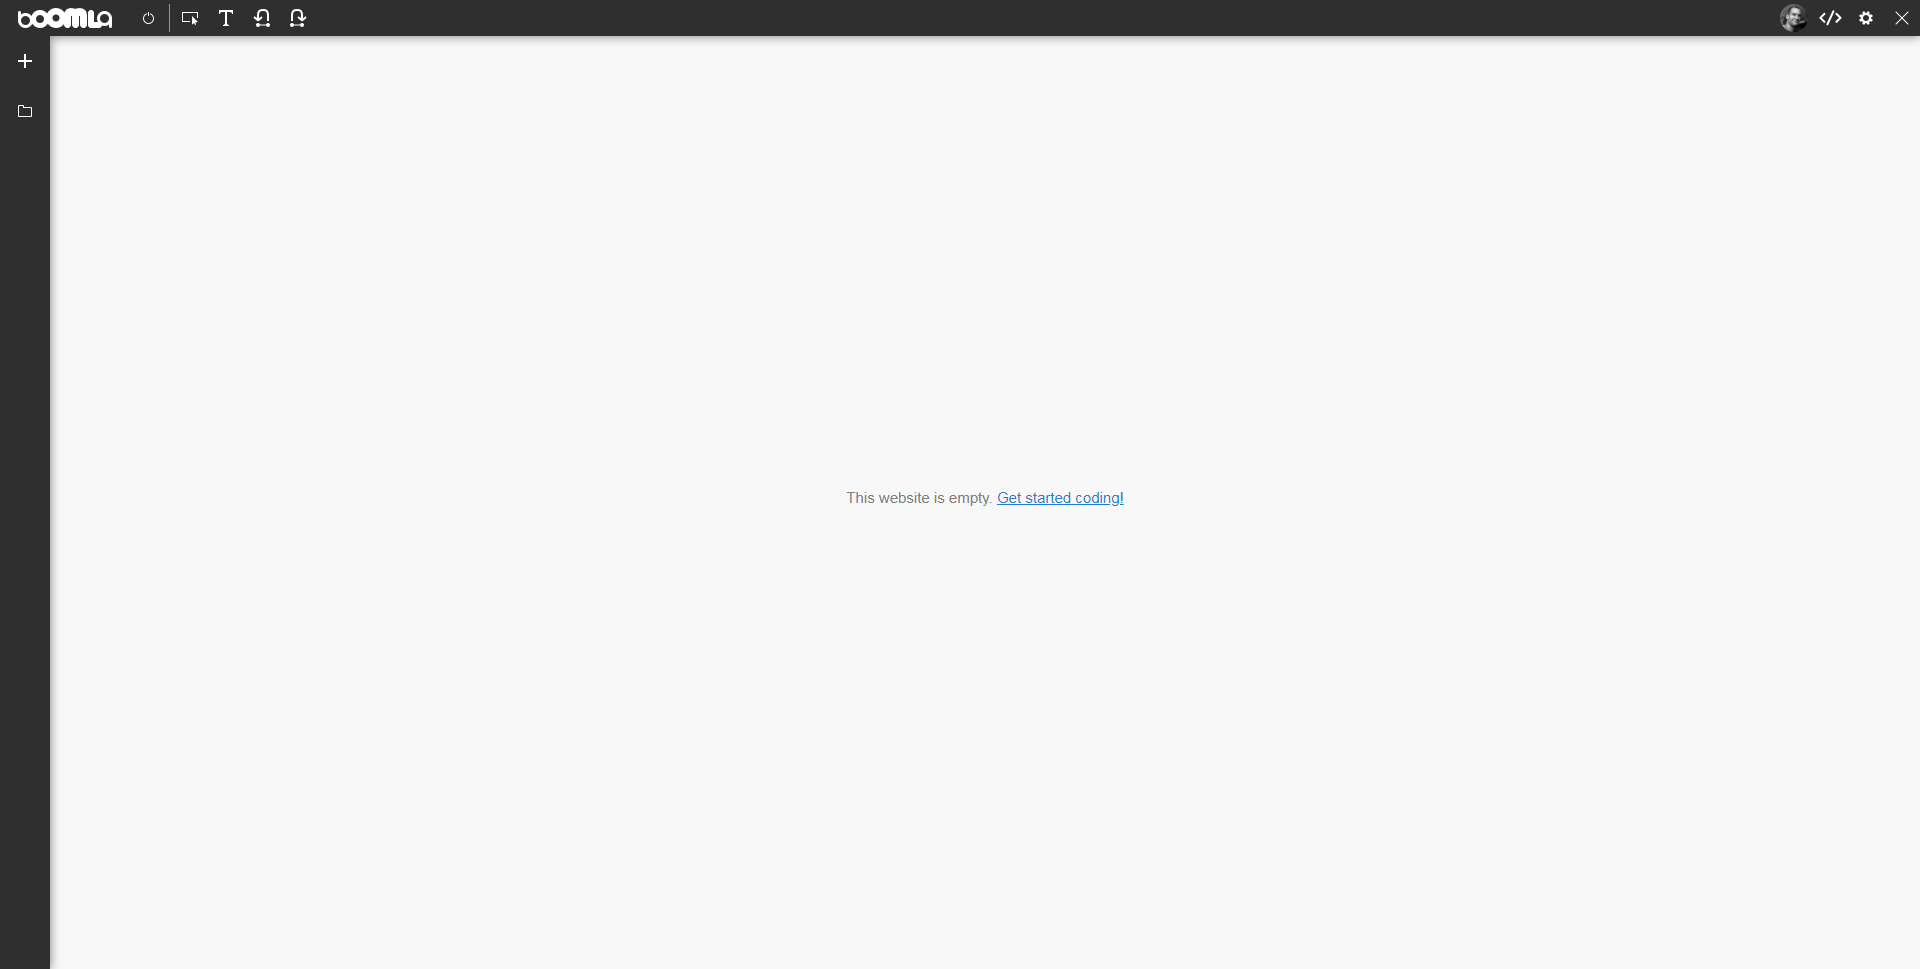
When you open the website, you will be automatically logged in. You will see something like this:
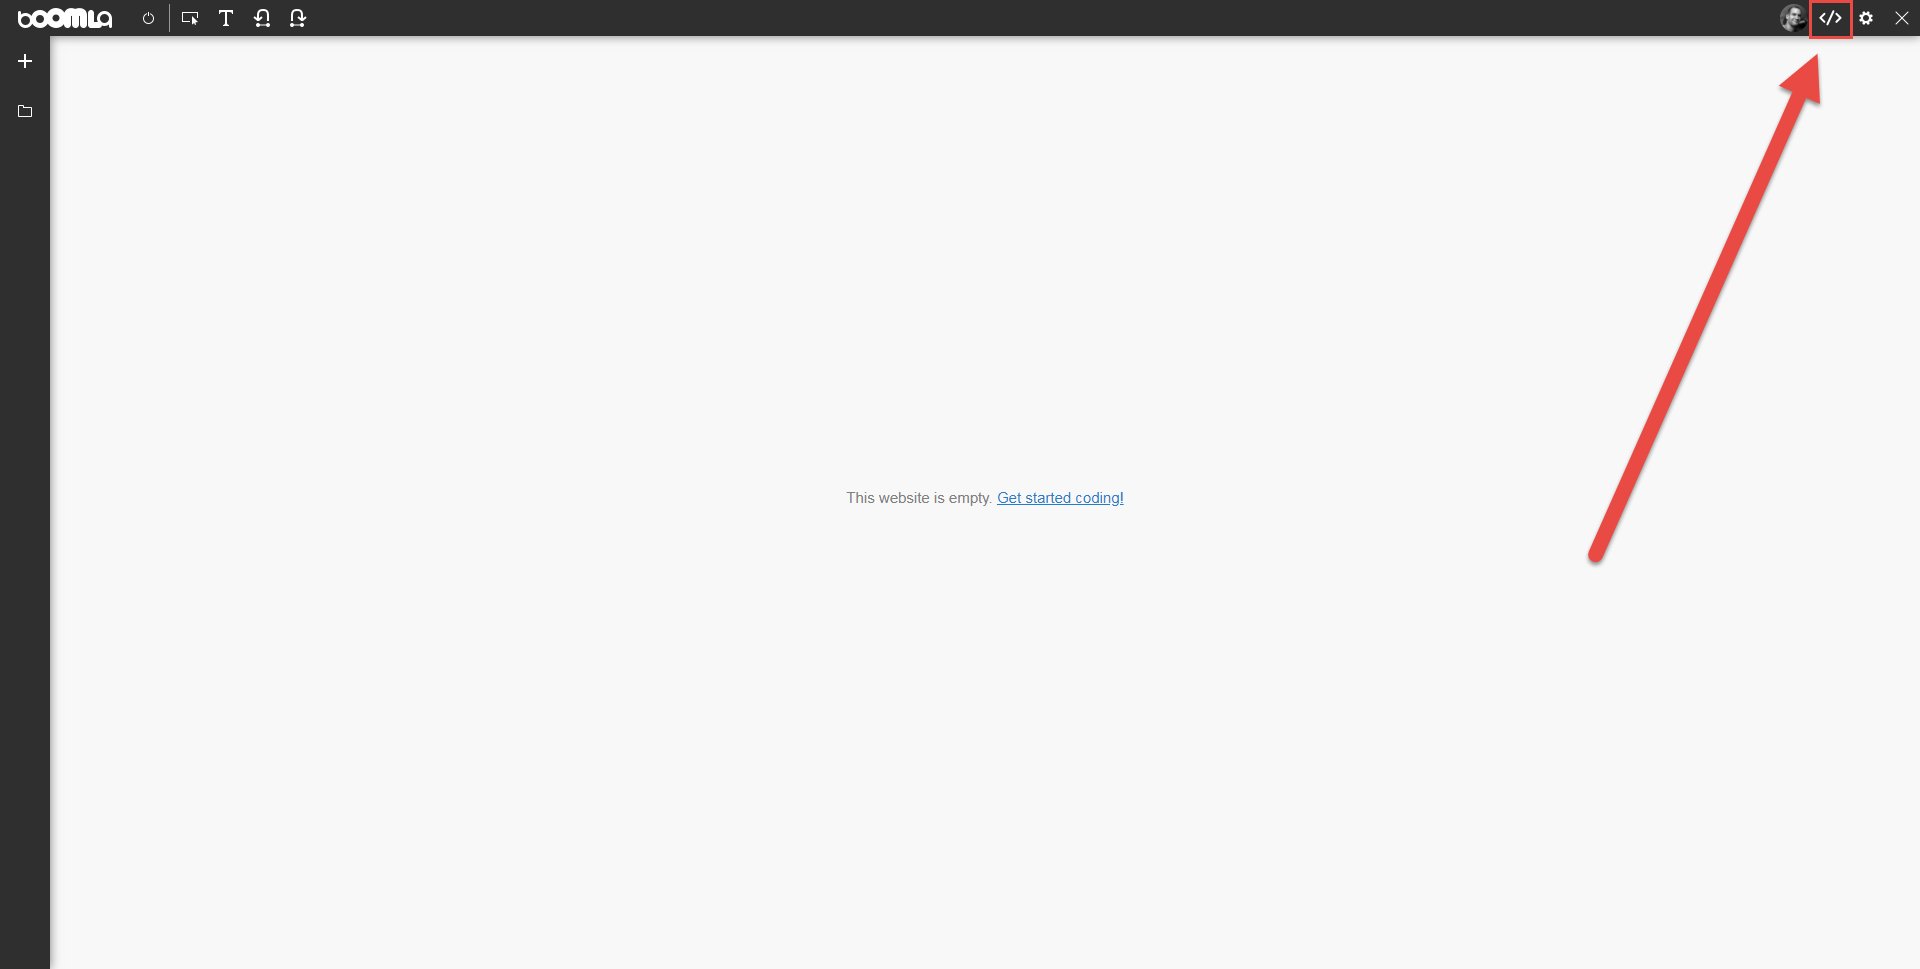
Open the IDE
Open the IDE by clicking its link on the top-right of the screen.
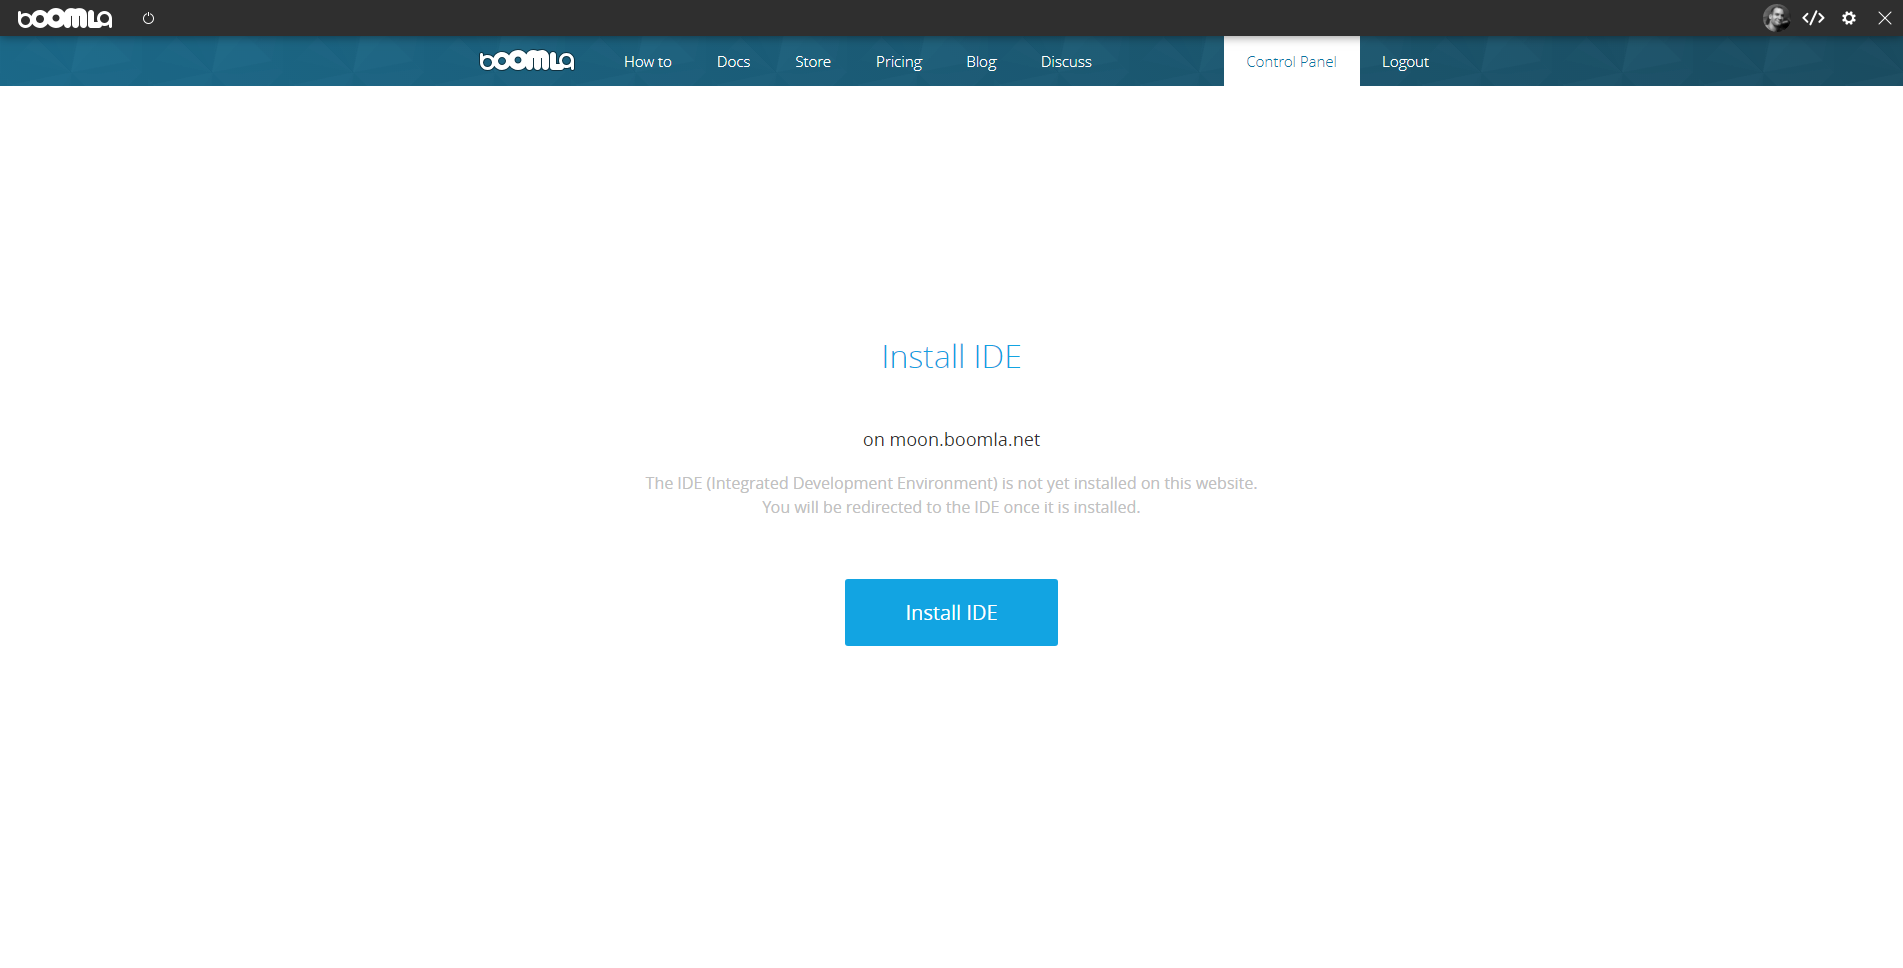
When you do this first, you will be prompted to install the IDE on your website.
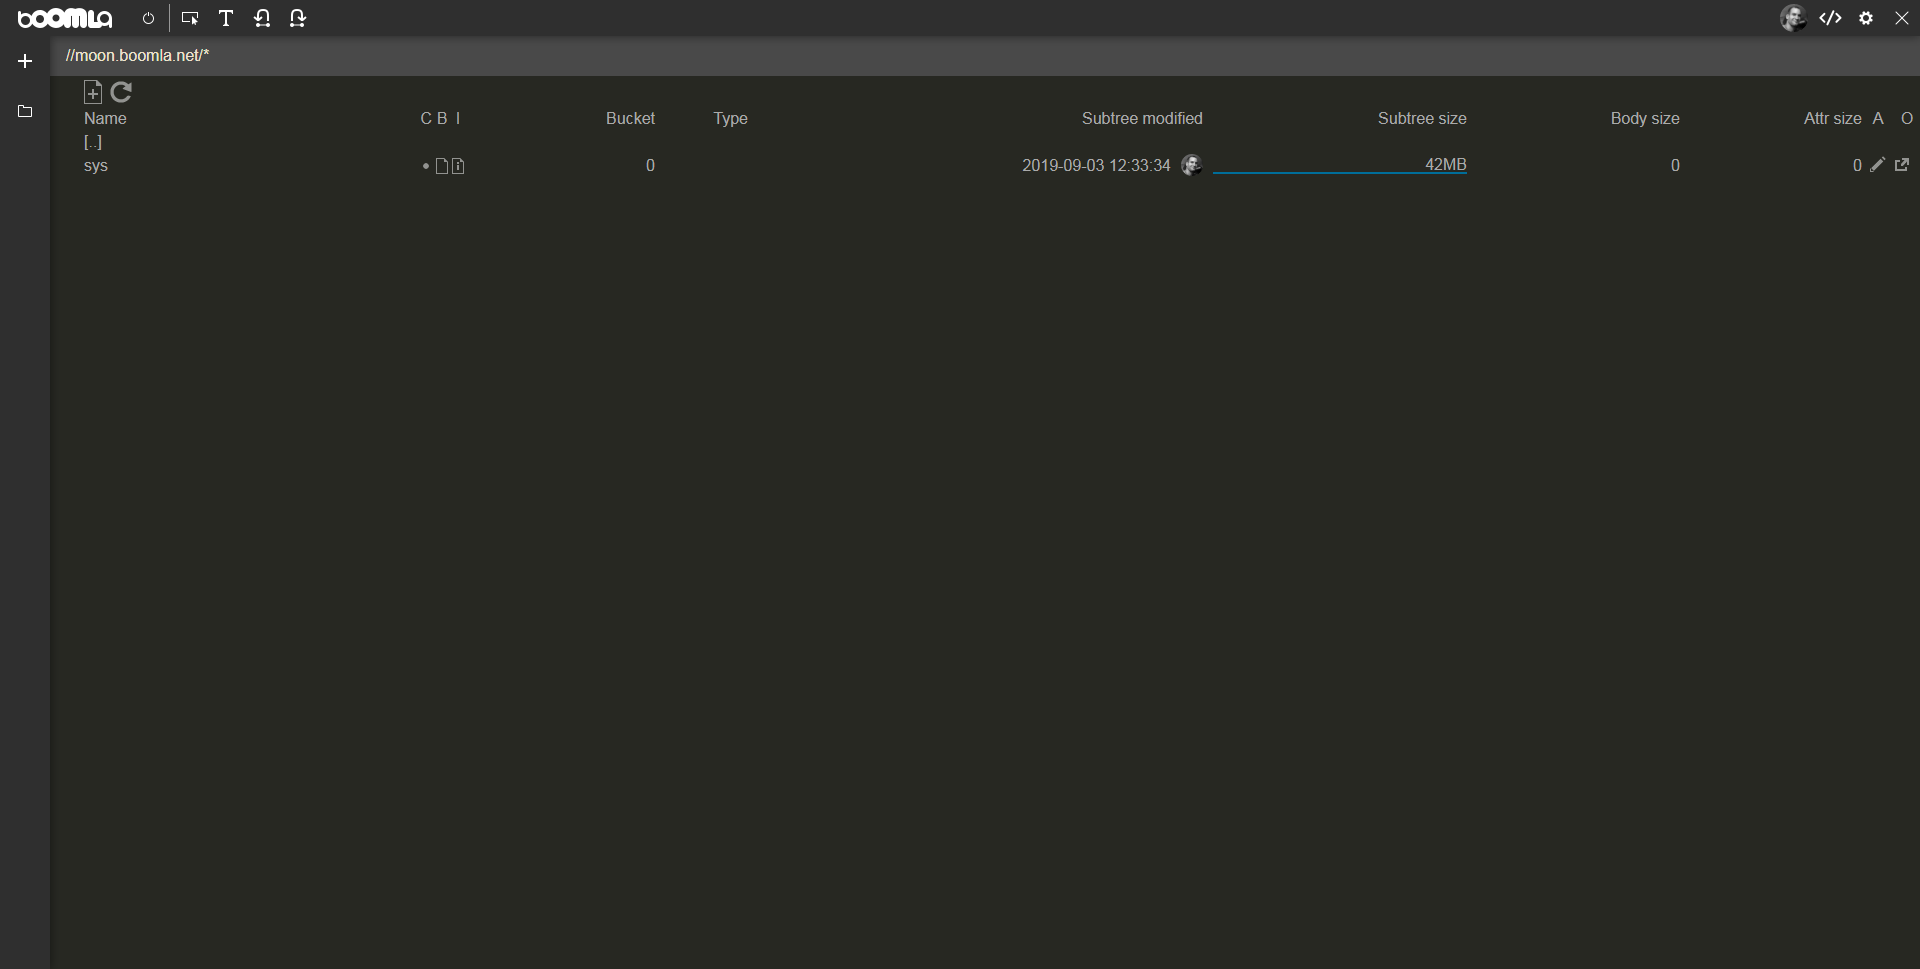
Go ahead. You will land in the IDE and see something like this:
If you look at the URL, you will see that the IDE is part of your website, as you are currently at /sys/packages/ide.boomla.com.
The IDE shows the filesystem of your website. Now you should be in the root file and so the only listed file should be sys. It was created because you just installed the IDE, that was placed in there. I keep saying file instead of directory, because in Boomla, files and directories are the same thing. So we just call them all files.
Upload the files
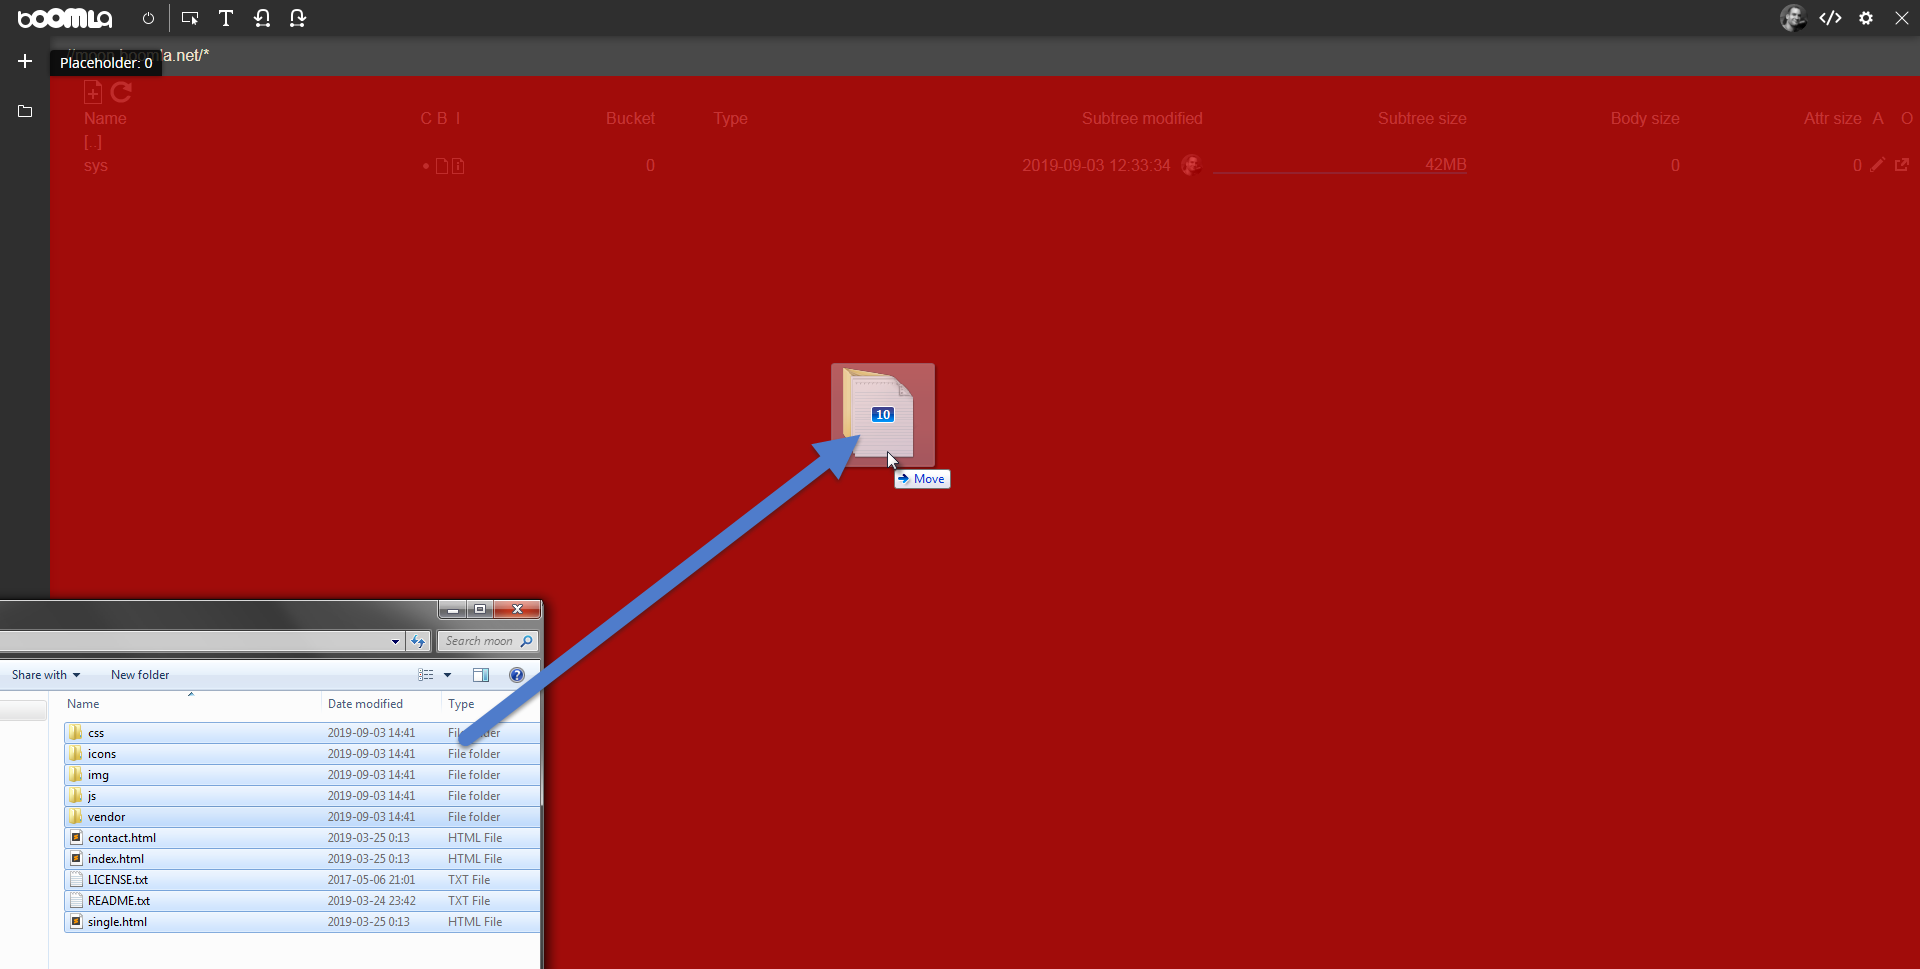
To upload the source files of your website, select your index.html file and all the other files and directories around it, drag them from your computer into the center of the IDE. Almost the entire window will be highlighted with red. That's okay, drop it anyway. It's a feedback that it's not type-safe to drop those files there, but that's expected when developing.
Once you drop your files, they will be uploaded. Directories will be uploaded recursively.
At this point, you can visit the /index.html file in your browser, though there are a couple more things we want to do.
Index.html vs the root file
Visiting the root file of your website (/), you will get an error.
The error says that the website's root file has no type. Indeed, we did not touch it. Let's look at two option: we can either copy the contents of the index.html file to the root file or redirect the user from the root file to the index.html file.
1) Copy the contents of the index.html file
You can open a file's body by clicking the "file body" icon on the right of its file name. That way, you can copy the body of the /index.html file to the root file.
You also need to set the type of the root file. The file type is a file property. You can see and edit file properties and attributes by clicking the icon on the right of the file body icon.
Set the root file's type to html-1, to serve html content. (The static-1 type uses the file extension to determine the content-type of the response. We could override it but that's simpler.)
2) Redirect visitors
Alternatively, to redirect visitors from the root file (/) to the /index.html file. Navigate upwards in the IDE until you see the root file, then open its file properties and set its type to redirect-301. Also, set its location string attribute to /index.html. The final result should look like this:
{
    "link": "",
    "type": "redirect-301",
    "title": "",
    "statusCode": 0,
    "attr": {
        "location string": "/index.html"
    }
}
External resources
If you load resources from external hosts, you will have to whitelist them in your Content Security Policy rules. That's a security feature protecting your website and its visitors from hackers. Under all your .html files which load external resources, you will need to create a file named .ContentSecurityPolicy and list all the domains you want to allow (one per line). If you can be more specific on what you want allow, see the .ContentSecurityPolicy file docs. For our template to work, we will use the following:
http://ajax.googleapis.com
https://cdn.linearicons.com
https://cdnjs.cloudflare.com
https://file.myfontastic.com
https://fonts.googleapis.com
https://fonts.gstatic.com
So how do you find out what you need to put on that list? The simplest way is to open dev tools in your browser and watch the errors on your Network tab, then list all the hosts you find there. Note that as you enable more resources, those will in turn try to fetch even more resources, so the process is recursive..
Central security settings
If you have many html files, copying the .ContentSecurityPolicy file under each one of them may be cumbersome. To make all of them use the same settings, do the following:
create the file
/base.html(or pick any other name),set its file type to
app-1,move the
.ContentSecurityPolicyfile under it,create the file
/base.html/.Request, set its type tosjs-4and its body to:var csp = source.select('../.ContentSecurityPolicy');response.attrStr('content-security-policy', csp.body());response.body(f.body());change the file type for all your html files to be
/base.htmlinstead ofstatic-1,
That way, the /base.html app will centrally define the behavior of all your pages.
Tips & Tricks
Use undo/redo on the Boomla Toolbar to undo/redo any changes made to your filesystem. This works with filesystem snapshots, so you will be able to undo any change you have made - except for removing the website itself.
Want to have cleaner URLs like /contact instead of /contact.html?
If you created the
/base.htmlapp above, you can just rename your files, the.htmlextension was not used by Boomla.Otherwise, rename your files and set their types to
html-1.
Make sure to update your links as well, as they may be broken now!
Want to work on a hidden clone of your website and only publish the final working result? Click the Control Panel link on the right of your toolbar, click fork, enter a subdomain to use. This will create a clone of you website, another so called branch. Once you are done, come back here and publish this branch to the master branch (the one your regular visitors see).