Include another HTML file in a HTML file

The Problem
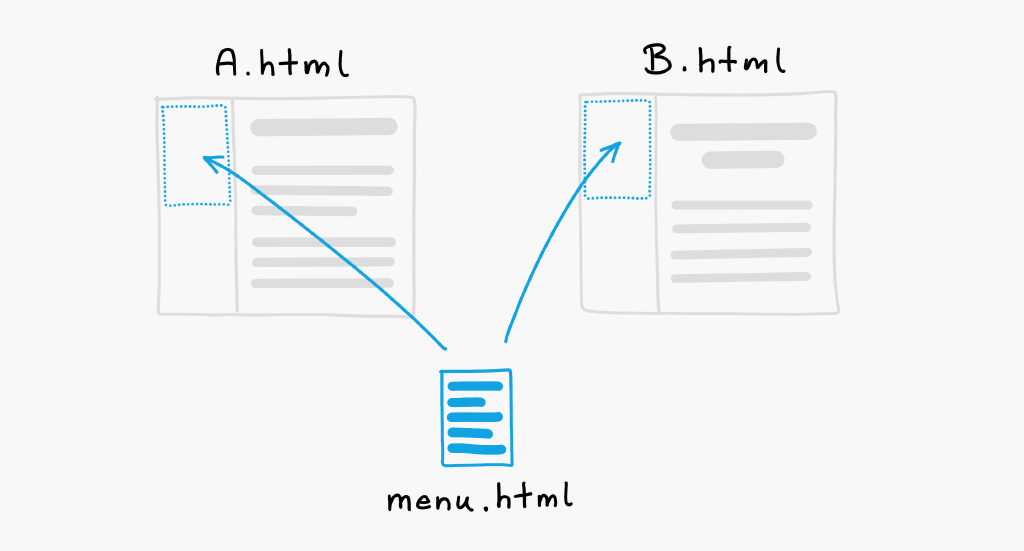
Let's see how to include one HTML file in another HTML file like on the image above. The reason to do that is typically because you want to show the same element on multiple pages, like the menu element or the footer.
The Solution
Let's clarify first that you absolutely need server-side support for this, because the HTML document must be assembled on the server side and sent back to the client in one piece.

Luckily, Boomla was heavily optimized for this exact use case because it is such a fundamental task in building a website. First, we will see how to include a single HTML file, then how to include multiple HTML files.
How to include a single HTML file
Summary:
Set the file type to
sjs-4eorsjs-4etif you are using Turbo CSS,Use this code snippet to include the desired file:
That's it!
Good to know
The
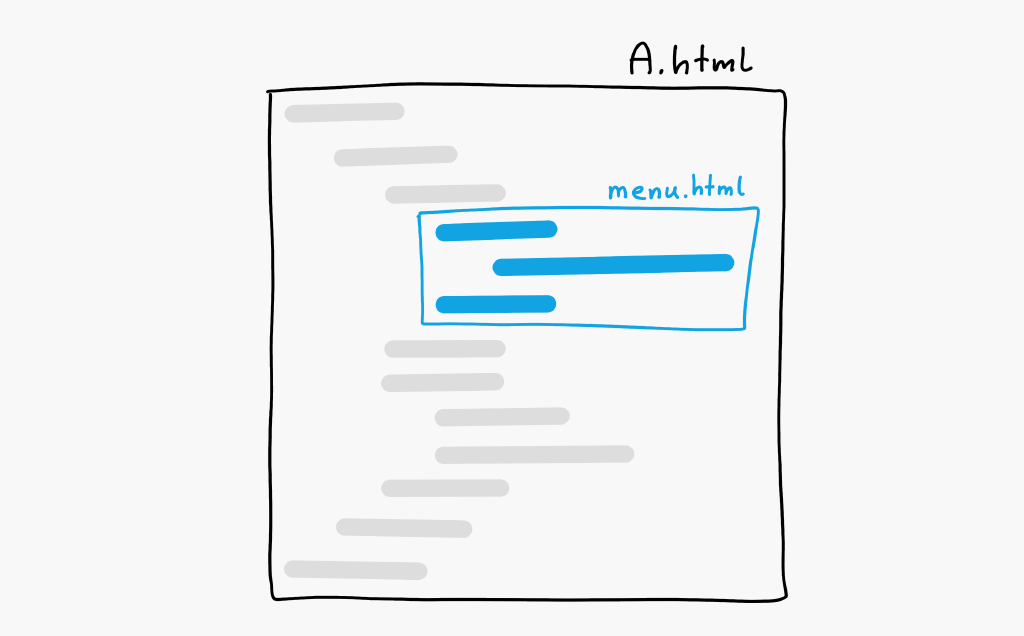
menu.htmlwill be executed before it is embedded into the document. This means that the menu itself can include other HTML files if you want.File extensions like
.htmlare meaningless in Boomla, it is the file types that matter. If you want, you can renamemenu.htmltomenuand it will work identically, as long as the file's type property is correctly set.
How to include multiple HTML files

The Problem
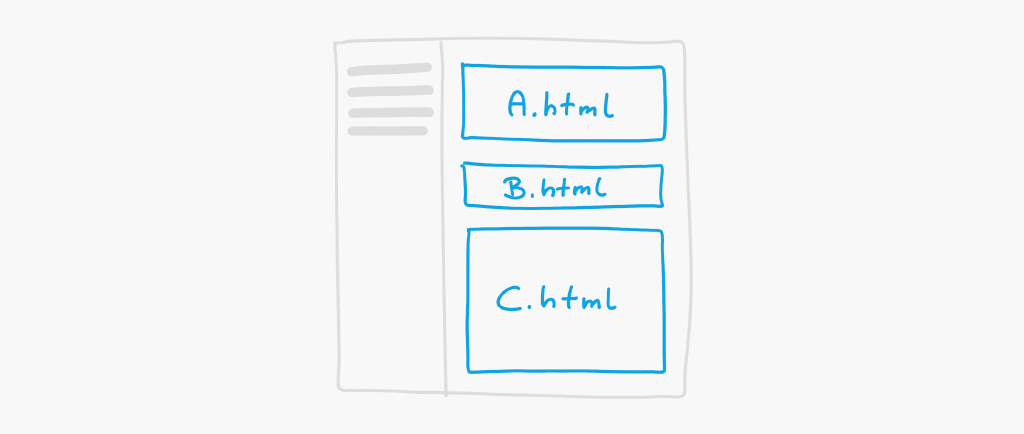
Another common scenario is that you have a page layout with a main column and you want to split the contents on that page into multiple HTML files.
The Solution
The trivial solution would be to repeat the code snippet above to include all the HTML files one by one. The problem is, we would have to reference every HTML file one-by-one to include them. If we changed the file names we would need to updated the include code snippets as well, which is error prone. Wouldn't it be better if we could somehow group all those files together and select them all at once?
This is where Boomla really starts to shine. We are not only going to use a simpler approach but one that enables us use use drag-and-drop to move the HTML files around on the web page itself.
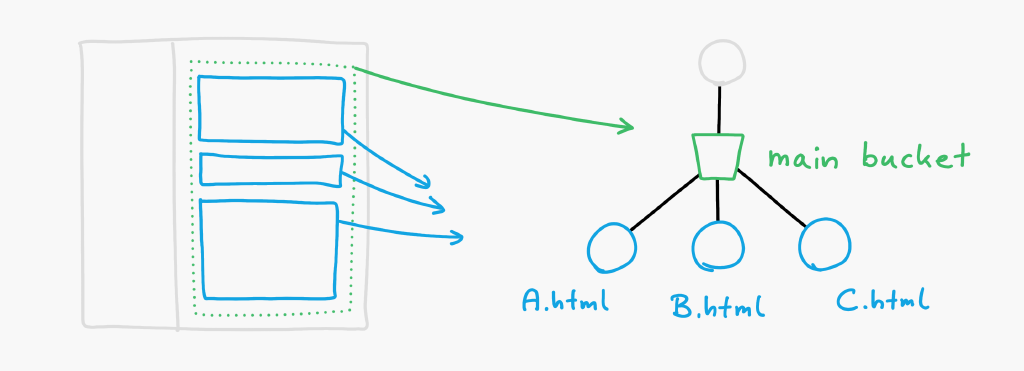
We are going to store the HTML files like so:

As a result, we can include all those HTML files with the following code snippet:
What's going on here?
Boomla uses Smart Files. They can do everything normal files can do, but they can also do much more. Once you upload a file to Boomla, it will be automatically converted to a smart file. Because every file is a smart file in Boomla, we just call them files as it's shorter.
Smart files can store other smart files. On a normal PC filesystem, you have files and directories. Smart files are files and directories, at the same time. This is extremely powerful, as we shall see.
Smart files contain special objects for grouping their children, called buckets. These buckets do not show up in file paths, they only exist to group files, which is essential when including multiple HTML files, to separate them from other kinds of assets.
We store the to-be-included HTML files as children of the page file, thereby encapsulating them into that file. This is crucial, because this way we can minimize the changes of breaking our site. We can even copy-paste the entire page file and the contents will be automatically duplicated with it. No need to go and edit all the files to make them work. Zero changes are required.
Defining the main bucket
We have to first define the main bucket before we can store files in it. To do that, we have to
create a file named
.Bucketsinside the page file (eg.page.html/.Bucket),set its file type to
buckets-1, andset its file body to the following JSON string:
This defines the main bucket and what types of files can be placed in this bucket: files that can be included in a HTML document, for which the Boomla terminology is to inline the file, hence the .Inline interface. Let this suffice for now, this is the definition we use 99% of the time.
Enable drag-and-drop
Finally, to enable drag-and-drop on the website itself while the Boomla editor is loaded, we need to wrap our code snippet that is including the HTML files in a tag like this:
We need this because the editor needs to know what to do when you drop a file in this HTML element. That is, where to place the dropped file on the filesystem.