Adding images
Let's add an image to our home page.
Open the IDE and navigate into
/main.Find an image on your computer that you can upload. (Here is one.)
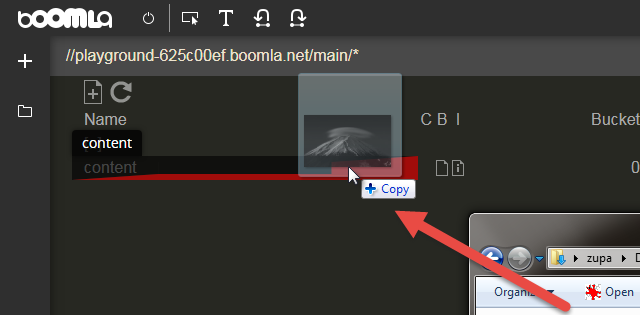
In the IDE, turn on the toolchain (on/off button on the top left) and upload the image by dropping it onto the IDE, positioning it after the
/main/contentfile like so:
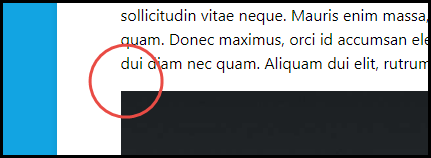
It's almost perfect, but there is no space between the text and the image, let's fix that.
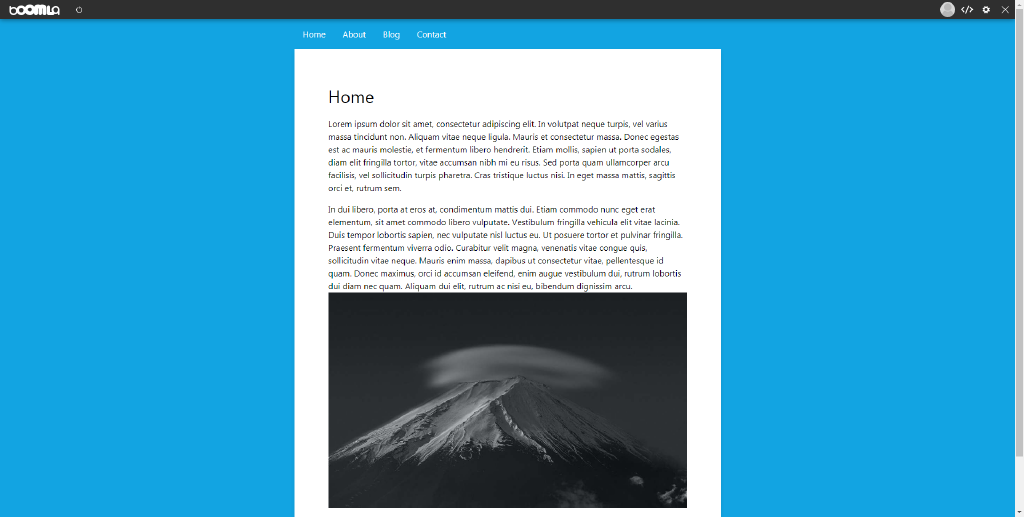
It's almost perfect, but there is no space between the text and the image, let's fix that.
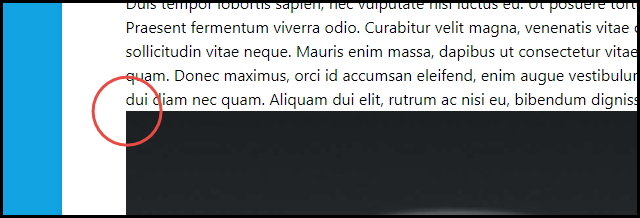
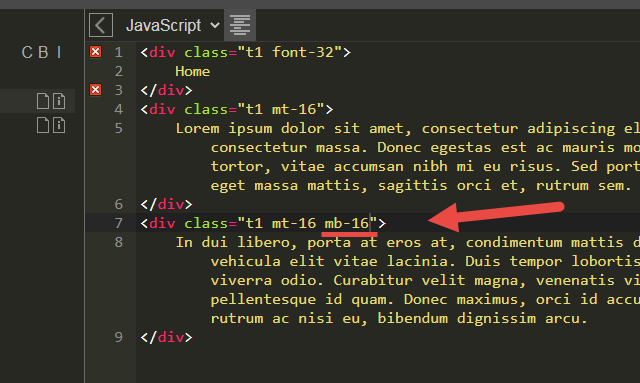
In the /main/content file's body, change the last <div class="t1 mt-16"> to <div class="t1 mt-16 mb-16">. The mb-16 adds 16px margin at the bottom of the text.
Now it should look just right.
But how come the image is displayed?
If you check the file type of the image, it will be image-1. This is a built-in app that handles displaying images, unless you want to take control and do it yourself.
Besides that, it is your code, the f.query('main/*').inline() that finds the image and then inlines it.
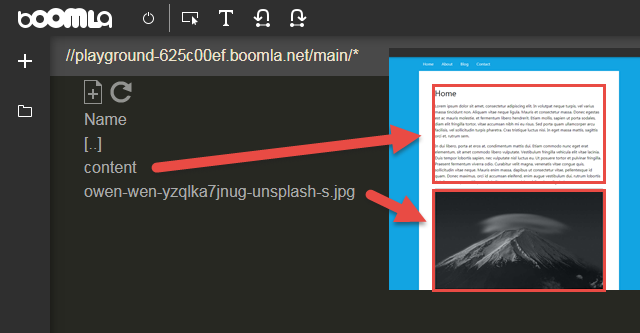
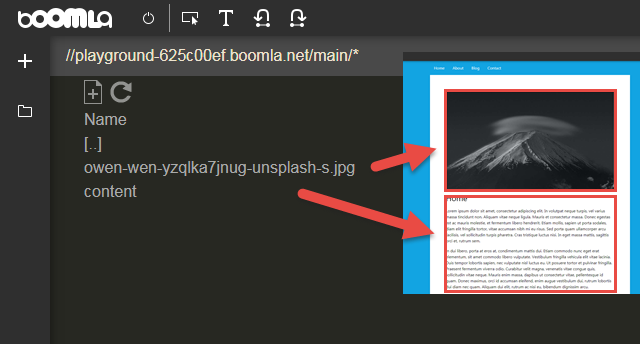
If you drag the image before the content file in the IDE, their order will change on your website too. To achieve this, files on Boomla are ordered.
This concludes our journey on creating a little multi-page website on Boomla by writing code. If you are interested, I'm happy to add many more intros like this one, including on how to write dynamic applications. Let me know what you wanted to learn!